DIY Lego Display Shelf
My youngest son recently had a birthday, and when I asked him what he wanted for his birthday, he couldn’t think of anything! Let me tell you, that NEVER happens with him. Usually, he can rattle off about half a dozen things he wants, without barely a thought, but the week before this birthday…nothing.
This made it a bit more challenging for me, since I often ask for a list of what the birthday person wants. I like getting my loved ones exactly what they want (if it’s within reason), and that means I don’t usually have to try and guess what they might like.

I started some quick thinking, and eventually decided what “I” would like him to have, and that was some place to display his many LEGO figures, where they wouldn’t be falling over every time I tried to dust the shelves in his room. He doesn’t like me moving his collections around when I clean, and his Lego “guys” would tip over so easily.
So I came up with a DIY project that my hubby and I could make just in time for his birthday, and the plus side was that it would be beneficial for me too…I’m just efficient like that! 😛
After explaining to my husband what I wanted in this DIY Lego shelf, he was off to the home improvement store to purchase some simple and inexpensive supplies. For the wood and paint, everything was under $20. Not bad!
Here are my husband’s words on the supplies to purchase, and how he made the frame for our shelf:
Purchase:
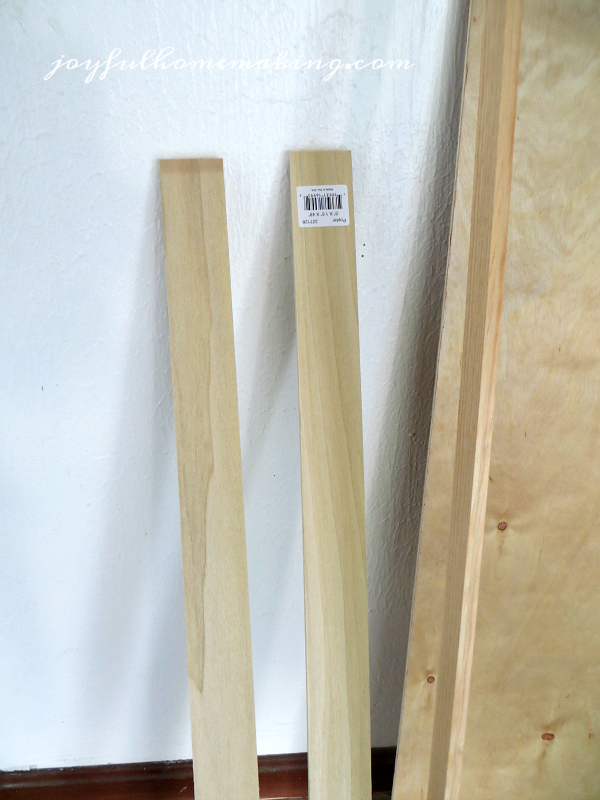
- 1″ x 2″ poplar stock at the lumber yard (note actual size is 3/4″ x 1 1/2″ but it is called 1×2). Pick the length you will need based on the size of the frame you want. In this case, we made it 18″ x 24″.
- Some standard molding that offers a “flat shelf” on the top, to be able to glue the flat Lego pieces on. There are probably a number of different options here, so pick what you want for looks and function, and your length is based on width of the frame and the number of shelves you desire.
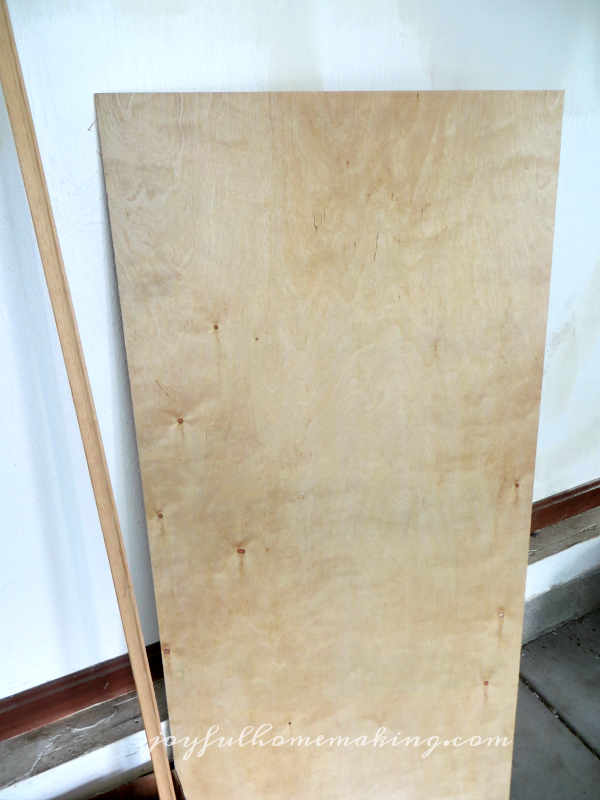
- Lauan board for backing, which is smooth and thin. I went with a 1/8″ x 24″ x 48″ sheet, which minimized the cutting for an 18″ x 24″ frame.
General Instructions:
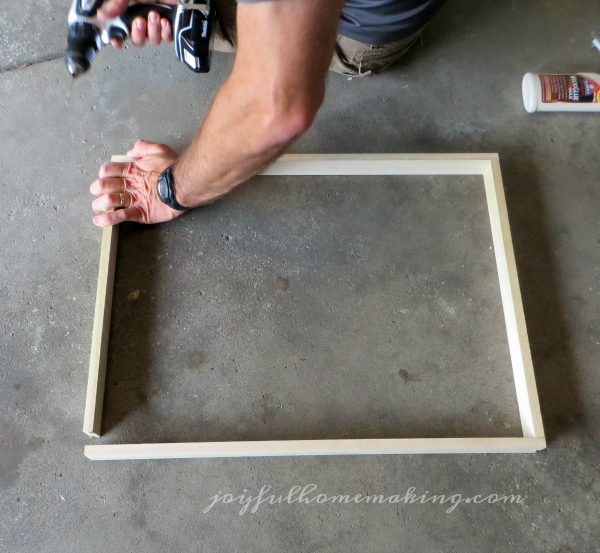
- Cut out the size frame you want. (I did not go fancy with miter cuts, as I did not have my brad nailer with me to do the neatest job, with 45 degree miters). I simply used flat edge cuts, and used wood glue and trim screws (a matter of time and function, over form).
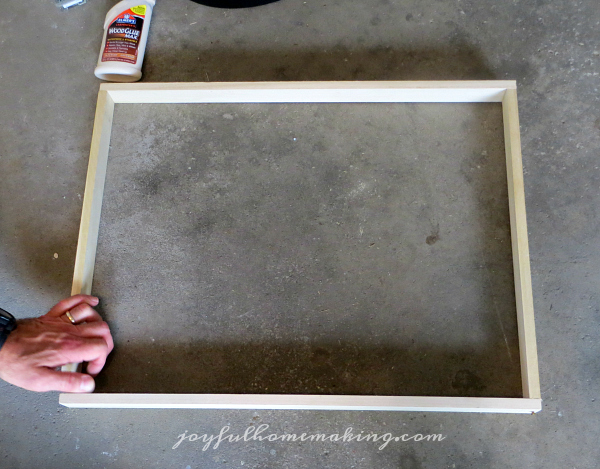
- Once the frame was assembled, I cut down the backing (the lauan) to 18 x 24, and glued and attached it to the back of the frame with wood screws (you can use nails or screws). *Make sure the frame is square before attaching all nails/screws. Wipe off all excess glue.
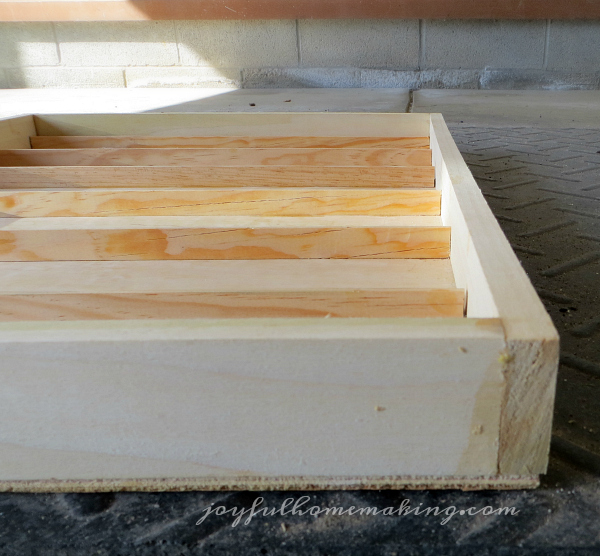
- Cut down and attach the molding (the shelves) spaced out as you want them. The flat side will be used for the “shelf side.” I used both glue and trim nails (ends only) to attach the molding. Again, a brad nailer is so much easier to use (follow safety procedures and use protective glasses if you do). Wipe off all excess glue.
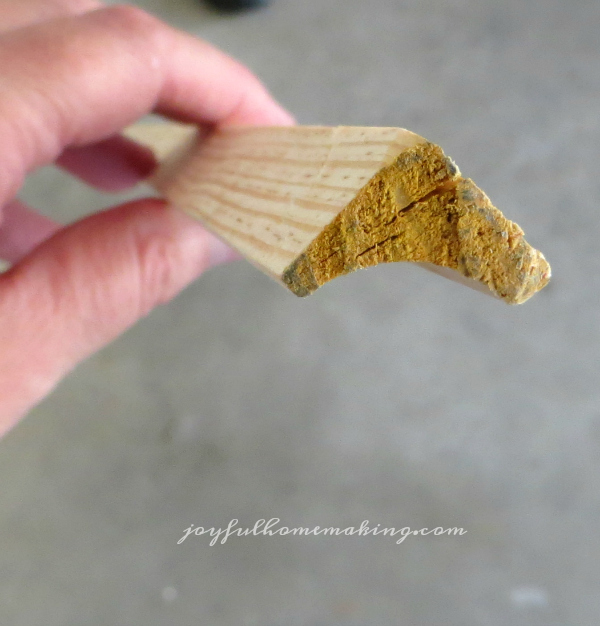
This is the trim we bought to use for the shelves.
- Finish the wood as you like. You can sand first and leave unfinished, or you can stain or paint.
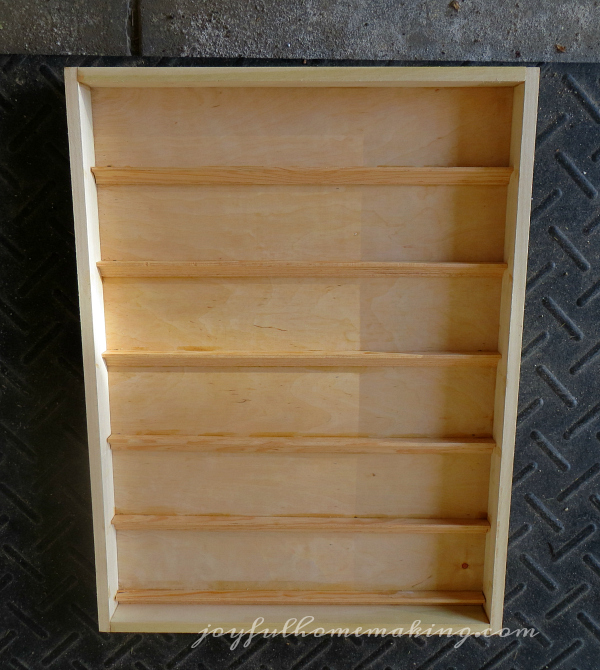
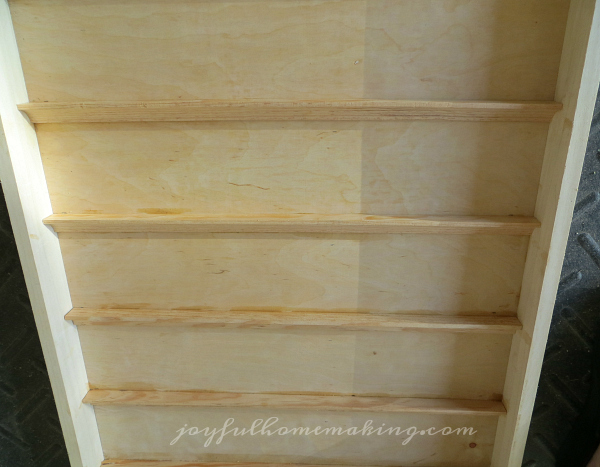
We chose a spray primer and paint in an almond color, although in the pictures it looks more gray. 😛
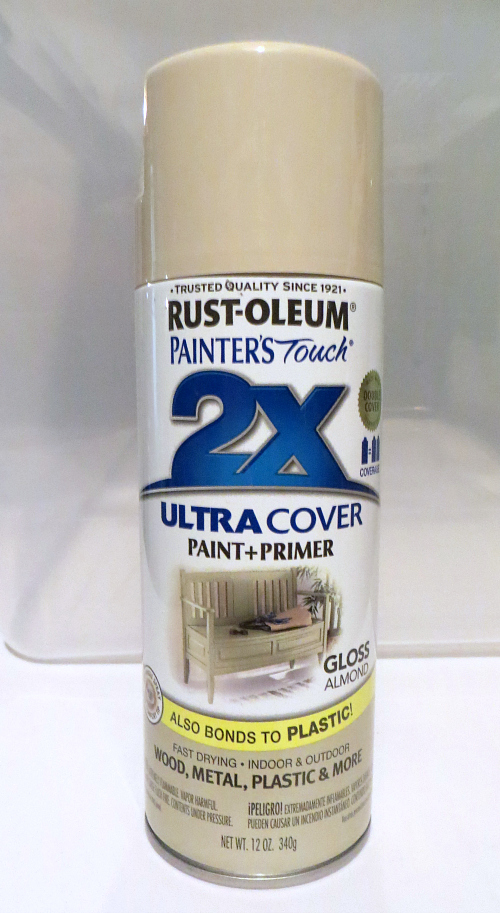
It was my turn (Margo) to take over, and so I put 2 coats of paint on it (with drying time in between the coats).
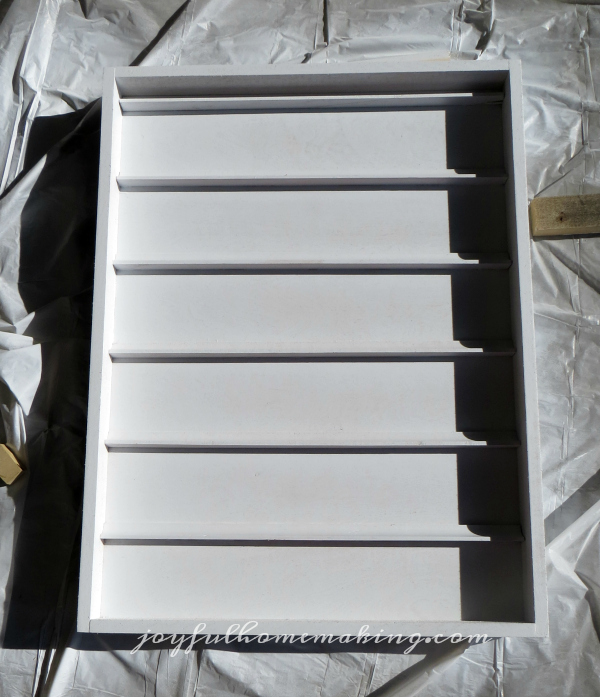
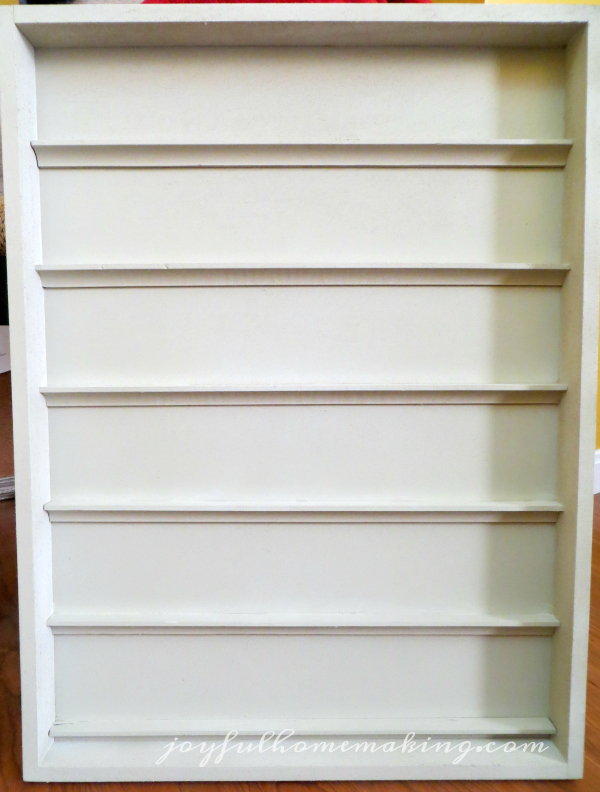 While I was letting the shelf dry, I searched through the
 mounds neatly stored collection of Legos we have, (as a result of 3 children who have all loved them at one point or another), and picked out a bunch of flat strips, 2 studs deep (and yes I had to look the term up for those “bumps”).
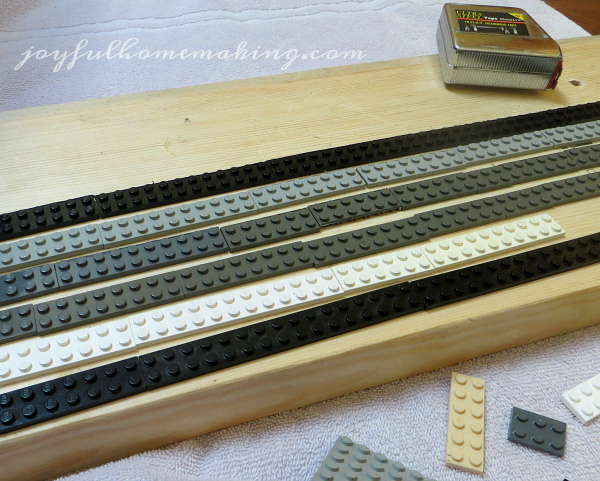
I laid out my color choices and figured out how many I would need for the width of each shelf. I did end up cutting some pieces with a utility knife, so the pieces would go all the way to the edges almost perfectly. If you do this, be careful! The utility knives are sharp and the Lego pieces very hard, and also make sure when you glue the cut piece onto the shelf, to put the cut edge facing the back so it won’t be seen.
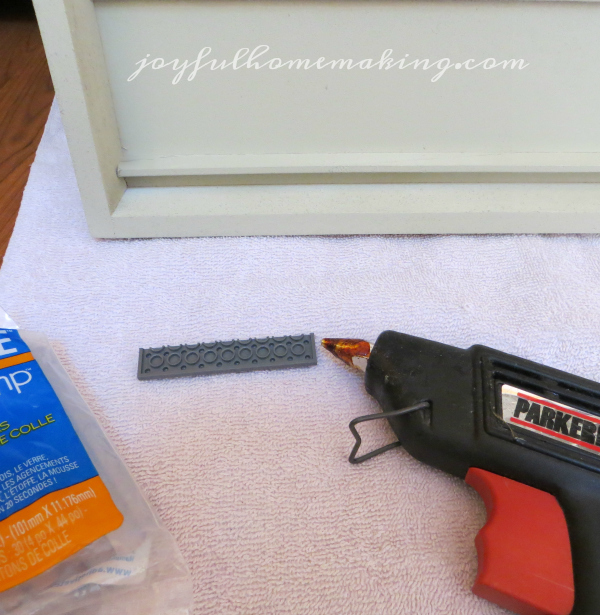
I used my glue gun to glue the pieces on, but if you’d rather, there are plenty of adhesive options at hardware, craft or home improvement stores.
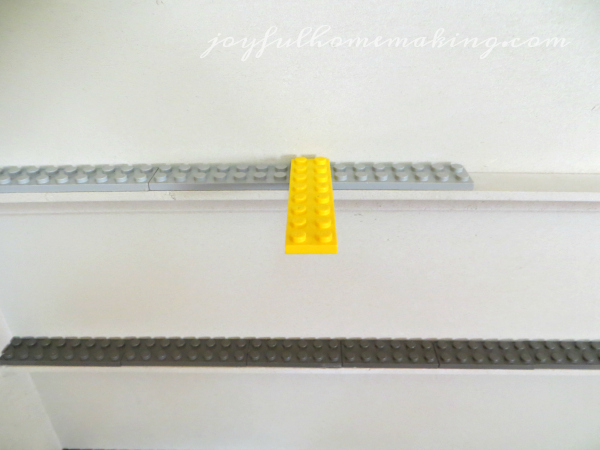
Be sure when you’re lining the pieces up to glue together, to press a Lego piece on top, connecting the two so they will be lined up correctly when you want to put the Lego “guys” on them. Otherwise they may not be spaced properly.
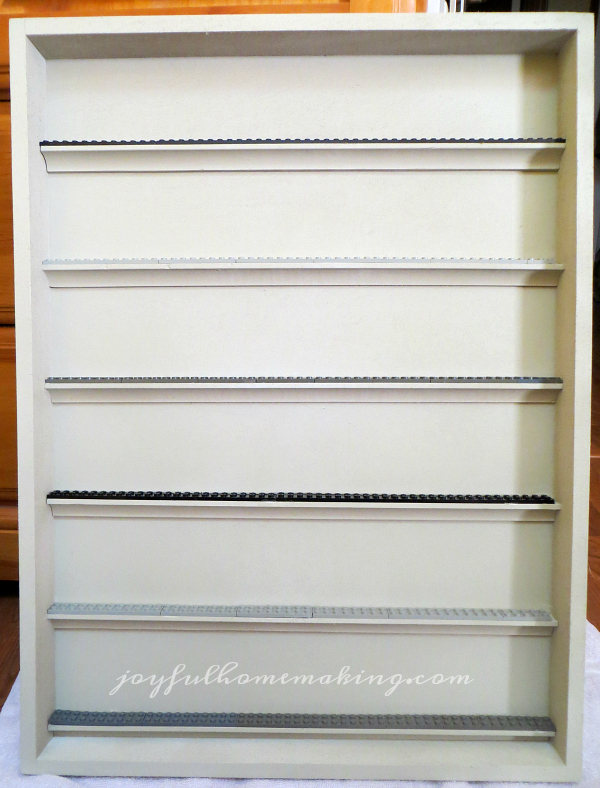
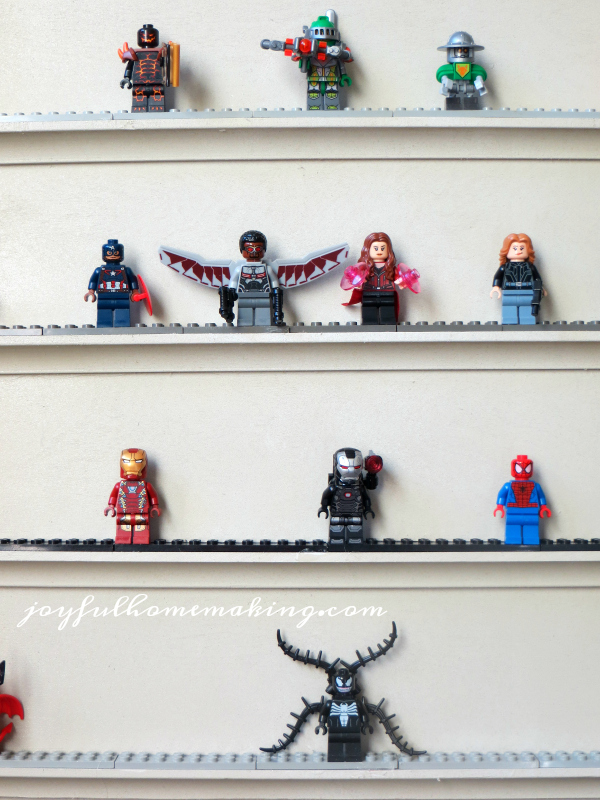
Once it’s all dried, and the adhesive is set, the shelf is ready to be loaded up with Lego figures!
For hanging, my hubby just used extra heavy duty picture hanging hardware that we already had, and attached it to the back of the frame, and hung it on a pre-existing drywall hanger. Be sure to use proper hardware and drywall mounts, based on the weight of your shelves, and always use caution when drilling a hole into any wall! The hooks we used for the back, make it easy for one of us to remove it from the wall, so our son can add to his figures.
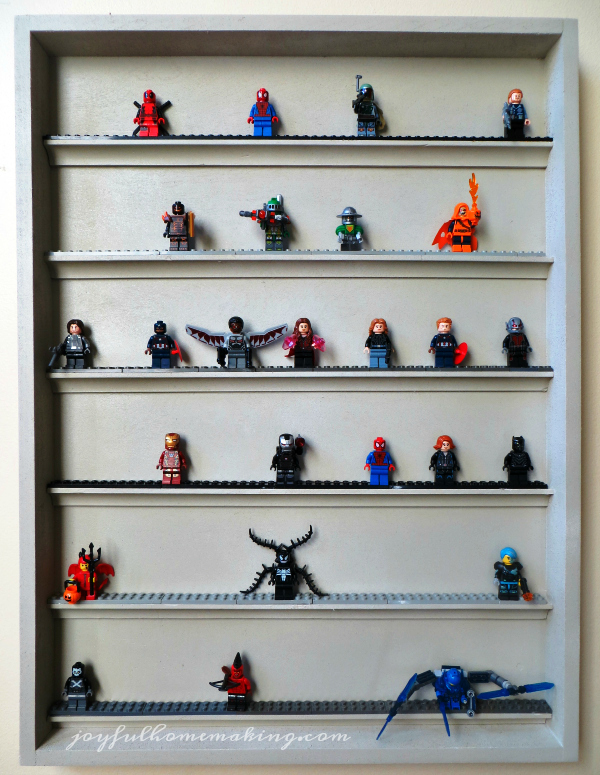
Our son loves his Lego characters, and I can see him having many hours of fun arranging and rearranging them, and I don’t have to worry about knocking them over when I’m dusting! 🙂
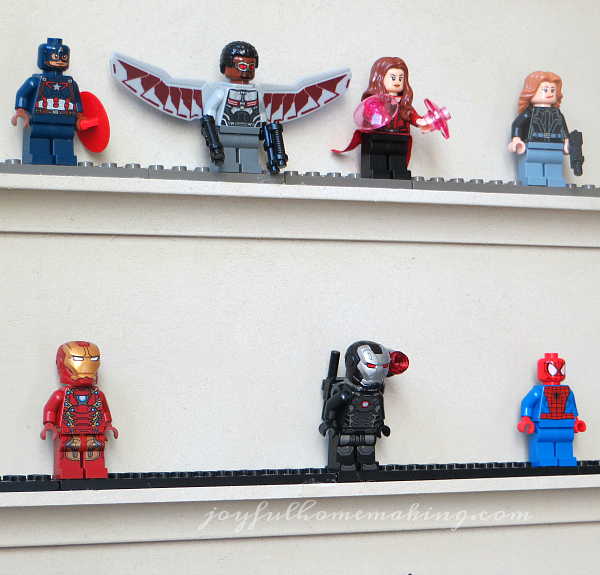

Now rest assured, we came up with a few more gift ideas for our son, but this was my favorite! 🙂

How neat! Gonna share this with a LEGO loving friend! Stopping over from Modest Mom
Thank you! I think I was just excited, maybe more, with it than my 11 year old! 🙂
Wow! This turned out very nice. My son would love it!
It’s so inexpensive to make and they can have fun arranging and rearranging without their “guys” falling over! 🙂
So cool!! I can see my son loving this… and woukd probably find my husband playing with it too!
🙂 I kinda want to set them up myself too!
Love this idea and will be sharing this with my son in law for the grandsons. Wonderful gift idea.
Isn’t it fun!
This is a great idea! We are a family of Lego lovers so our minifigure collection is crazy! I will definitely be using this idea for our minifigs!
That’s exciting! We have quite the collection in our family too!
This is so cute! As my boys get older I’ll have to remember this!
I know my son loves it and he’s 11! Never too big to play with Legos.
This is a great idea! I found your post on Handmade Hangout. I’m going to make one of these for my nephew. Thank you for sharing.
Great display shelf with the instructions too! Love that you put lego on each shelf so you can attach the figures and they won’t fall off!
This is a great idea!! Will have to add this to my never ending list of things to do 🙂
Seriously in love with this =perfect for a boy or a girl in love with lego!
This is absolutely genius! #HappyNowLinkUp
What a clever idea! The trim looks like it’s the perfect depth, and they all look so fantastic in the case. I may just have to make one for my a family member of ours that is a total Lego fanatic. Thanks for sharing a the #happynowlinkup!
That cake is sooo cute!
My son would love a shelf like this. Very awesome idea! & keeps the clutter at a minimum!
Thanks for sharing
#HappyNowLinkUp
This is so cute! I need to make this for my kiddos, they would love it.Thanks for sharing your tutorial at the #happynowlinkup
What a great, and simple, solution to the problem of finding the figures in the “neatly stacked piles” of legos around the house!
Love this project! I like the fact that it is so versatile. I did a very similar project to create more storage on the back of a pantry door in my kitchen. Really great idea and it made me think of other projects I could use this for. I enjoyed this article!
This is awesome! I need to send it to my husband to see if he can make one for my son!
It’s really simple! 🙂
The Lego base is SUCH a great touch! I love that you can customize this shelf design for other displays, too, without the Lego base.
Oh true! 🙂
Genius! I especially love the Lego flats at the bottom of each shelf. We love Legos, but man, do they get everywhere! This is a great strategy for organization besides being nice to look at!
Yes, those Lego flats keep things in place! 🙂