Chocolate and Vanilla Ice-Cream Cake
There are seasons of life when you have more money and less time, and then there are seasons where you have more time and less money. This September is the first time in 21 years that I don’t have 1 to 3 children at home with me all day, as the youngest two are going to school for the first time, instead of me homeschooling them. Paying for school tuition has found us in the current position of less money and a little more time. 😛
So for our youngest son’s recent birthday celebration, instead of a store bought ice-cream cake, which usually runs $25 to $35 depending on the size I get, I decided to try a
“homemade” version of an ice-cream cake. It only cost around $10 to make, and better yet, everyone thoroughly enjoyed it!
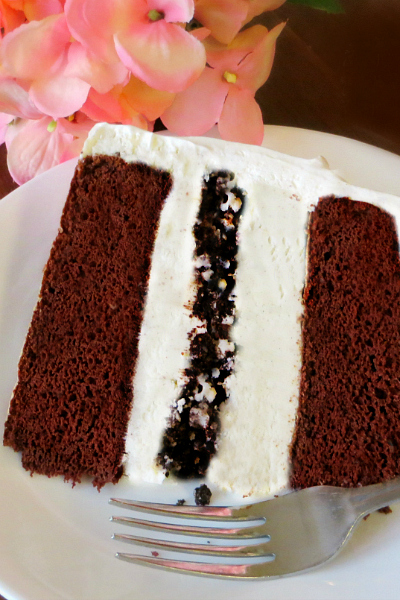
I found the instructions for this particular ice-cream cake on Food Network, and although it was a little tricky at times when putting it together, it was well worth the effort!
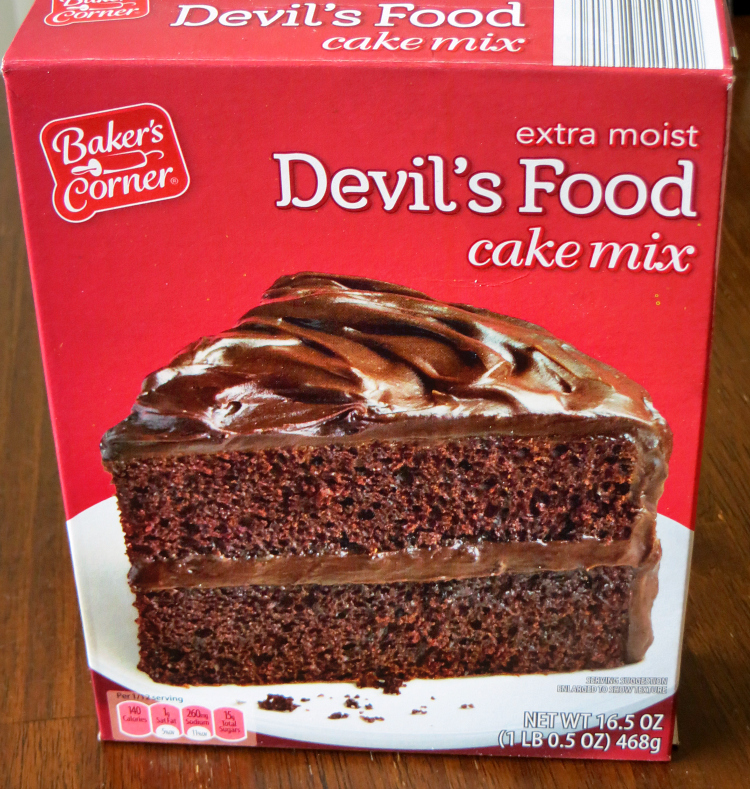
INGREDIENTS:
- One chocolate cake mix
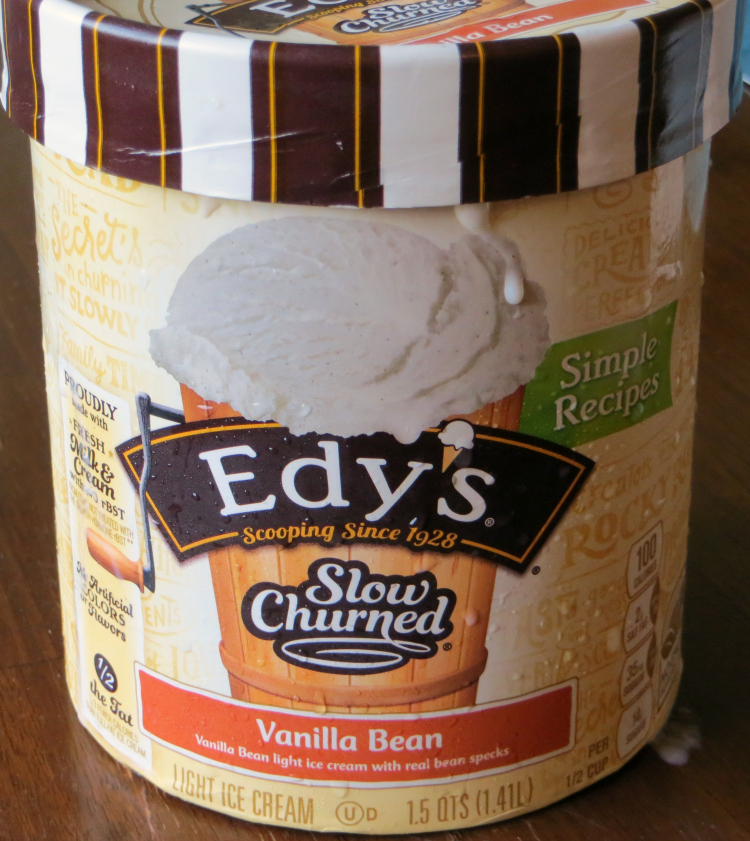
- 1 1/2 quarts to 2 quarts vanilla ice-cream (I used around 8 cups total)
- 10 or more chocolate/vanilla cookies (oreo type)
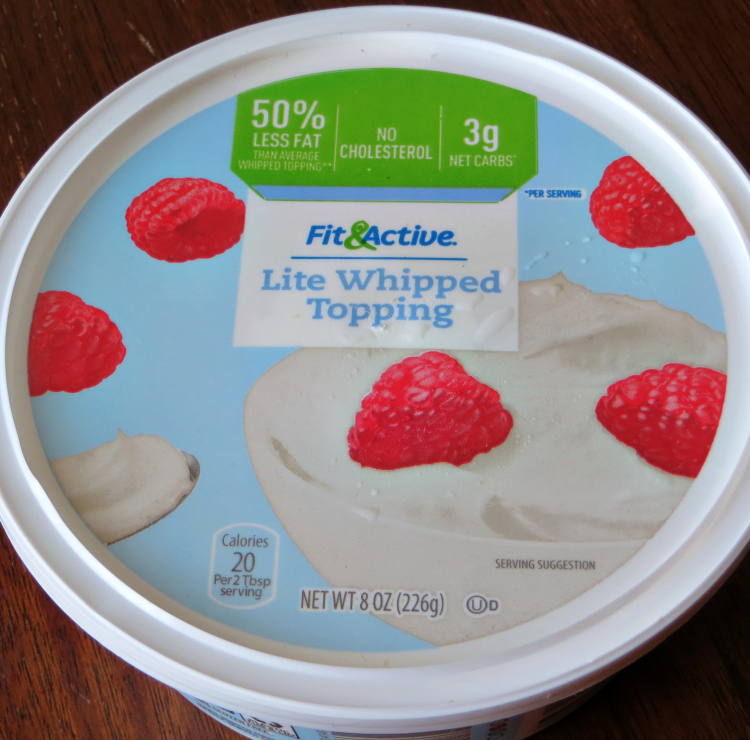
- 12 ounces whipped topping (check container sizes)
- Other than the cakes, the other ingredients are relative to taste; I was very generous with the ice-cream and cool whip! 🙂
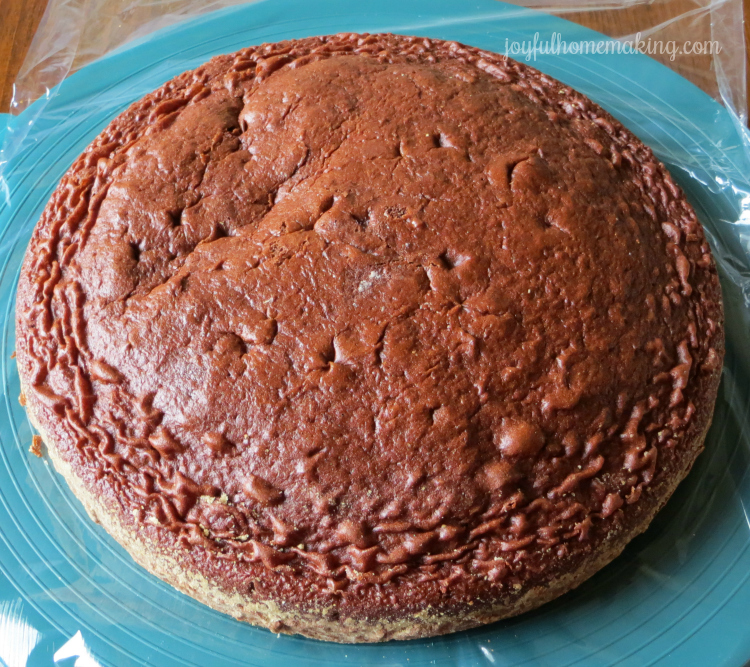
INSTRUCTIONS:
- Bake your cake according to package instructions in two 8 or 9 inch round cake pans. Let cool. Trim tops if necessary to make them even and level.
- Set out your ice-cream for a few minutes for it to soften up a bit, but you don’t want it runny!
- On your cake stand lay out a couple of pieces of plastic wrap criss-crossed in a cross shape. Later you will be wrapping this all around your cake to hold everything together while it freezes.
- Set your first cake layer on top of the plastic wrap.
- Spread half of your ice-cream in a thick layer on top of the cake.
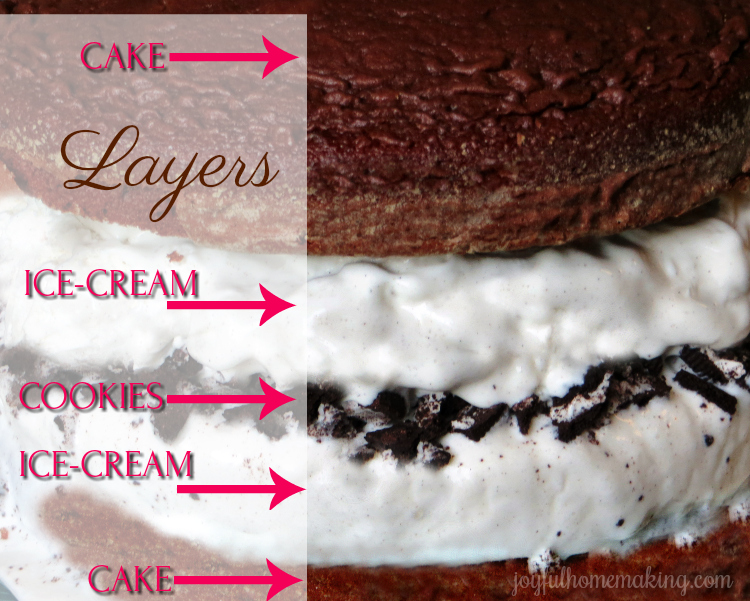
Crumble your cookies up (You can crumble them in a ziploc type bag with a rolling pin), and then spread them over the first layer of ice-cream.
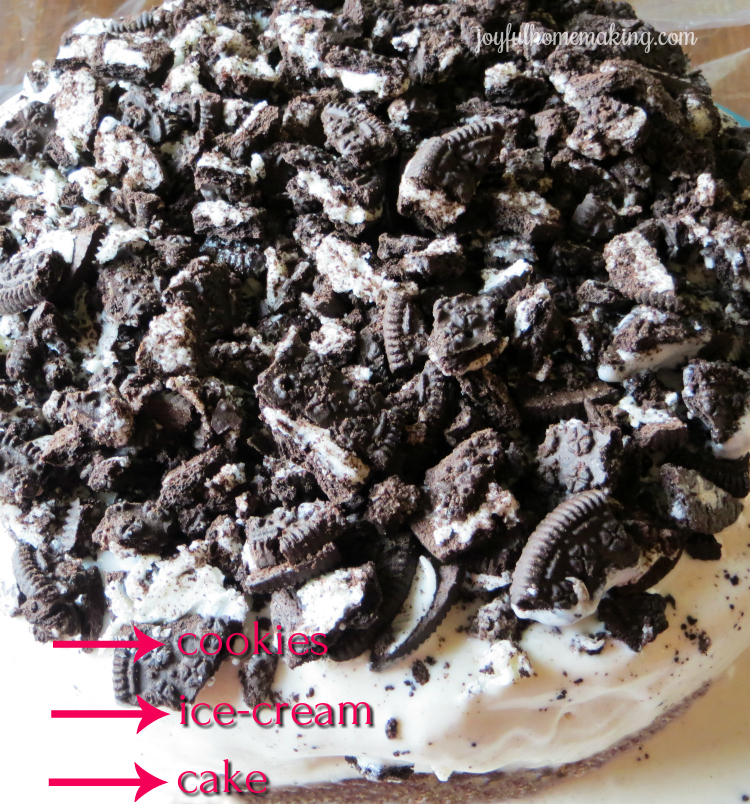
Now the next step you can do one of two ways depending which you find easier: either freeze your cake for a while, and then add another layer of ice-cream and your final cake layer, OR go ahead and add the second layer of ice-cream and then cake, and THEN wrap and freeze. Freezing in between layers seems to be a little easier way to work with it because it firms everything up, but it takes a little longer.
My ice-cream melted a little before it froze, but since it was all wrapped up tight with the plastic wrap, it froze together just fine. Since I was going to completely cover it with lots of whipped topping, it didn’t matter. In the Food Network pictures, they didn’t cover up the entire cake with whipped topping, only the top. However I like completely covering it, because we really like the cool whip, and it covers any mistakes. 🙂
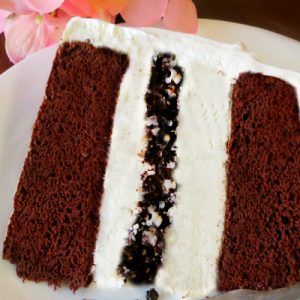
Then it gets frozen one last time for a few hours or until your celebration.
Chocolate and Vanilla Ice-Cream Cake
Ingredients
- One chocolate cake mix
- 1 1/2 quarts to 2 quarts vanilla ice-cream I used around 8 cups total
- 10 or more chocolate/vanilla cookies oreo type
- 12 ounces whipped topping check container sizes
- Other than the cakes the other ingredients are relative to taste; I was very generous with the ice-cream and cool whip!
Instructions
- Bake your cake according to package instructions in two 8 or 9 inch round cake pans. Let cool.
- Trim tops if necessary to make them even and level.
- Set out your ice-cream for a few minutes for it to soften up a bit, but you don’t want it runny!
- On your cake stand lay out a couple of pieces of plastic wrap criss-crossed in a cross shape. Later you will be wrapping this all around your cake to hold everything together while it freezes.
- Set your first cake layer on top of the plastic wrap.
- Spread half of your ice-cream in a thick layer on top of the cake.
- Crumble your cookies up (You can crumble them in a ziploc type bag with a rolling pin), and then spread them over the first layer of ice-cream.
- Now the next step you can do one of two ways depending which you find easier: either freeze your cake for a while, and then add another layer of ice-cream and your final cake layer, OR go ahead and add the second layer of ice-cream and then cake, and THEN wrap and freeze. Freezing in between layers seems to be a little easier way to work with it because it firms everything up, but it takes a little longer.
- Then it gets frozen one last time for a few hours or until your celebration.
- When you’re ready to serve your cake, remove it from the freezer, top with some extra crumbled cookies for decoration, and serve immediately. Keep any leftovers in the freezer!
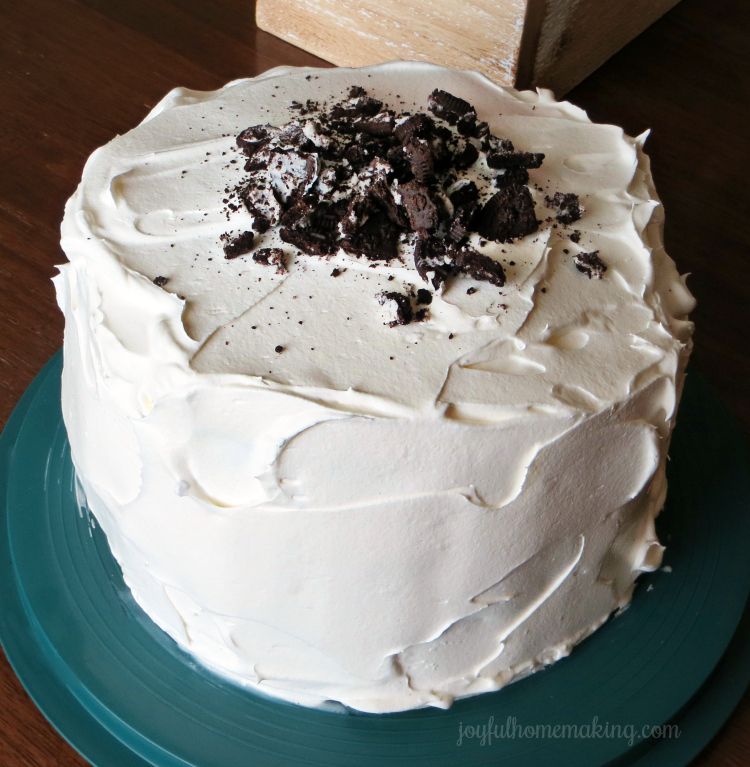
When you’re ready to serve your cake, remove it from the freezer, top with some extra crumbled cookies for decoration, and serve immediately. Keep any leftovers in the freezer!
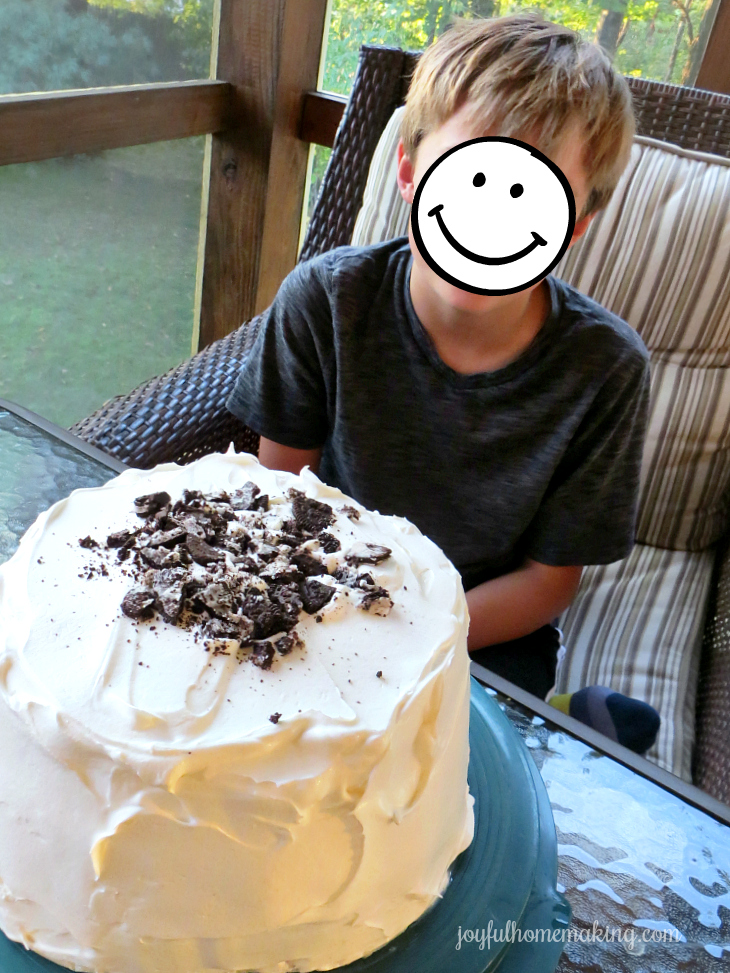
It was a scrumptious cake and really inexpensive. My birthday guy (and the rest of the family) loved it!
Even though it’s a bit more labor intensive than just a regular cake with frosting, don’t let it scare you, it’s so worth it!
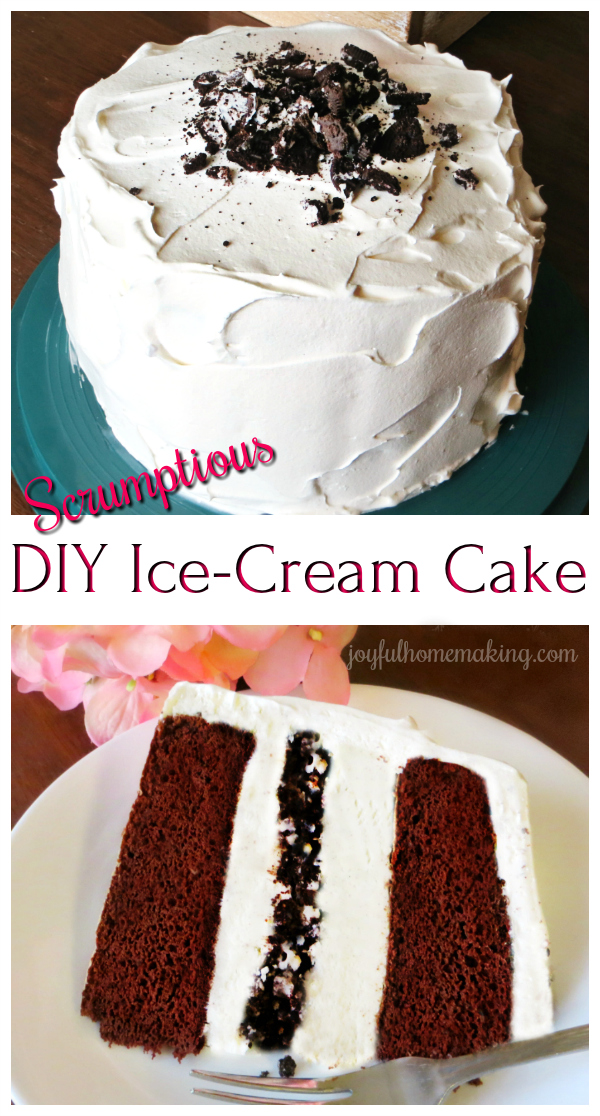
You get your cake and ice-cream all-in-one. 🙂
