
Framed Dry Erase Board
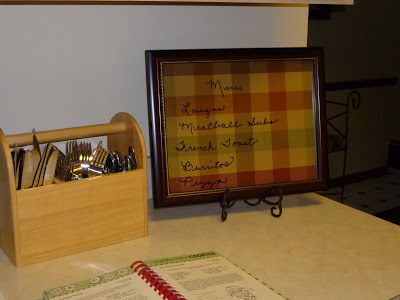
Make and Takes blog has a post with a gorgeous wipe off weekly menu board, and I just had to make one for myself using my kitchen colors. The best part is that it was incredibly easy and inexpensive!
Here is what you need:
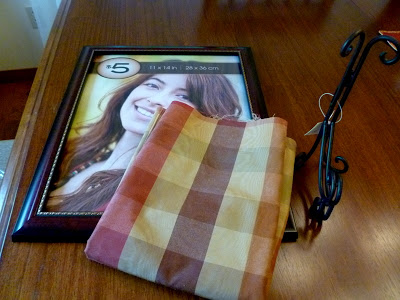
A picture frame (I used an 11×14)
Scrap of pretty material or scrapbook paper
Frame stand (unless you want to hang it on the wall)
Tape (I used packing tape) or craft glue
Take the cardboard insert out of the frame and wrap your fabric around it.
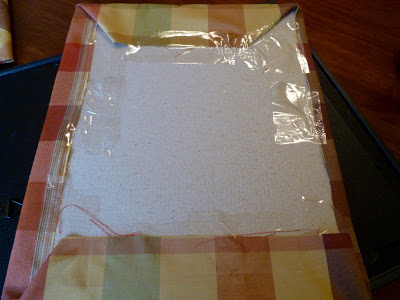
Make sure you do it nice and unevenly like I did, and secure with tape.
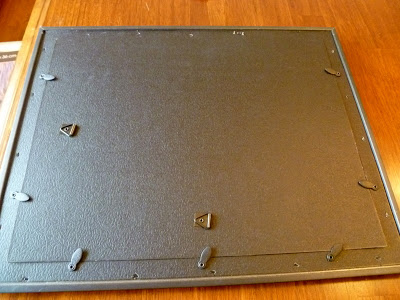
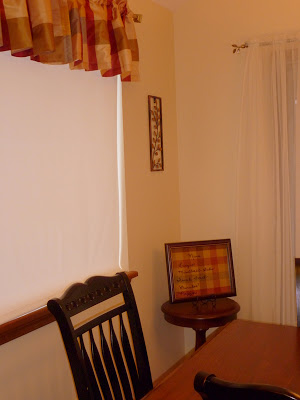
Put the insert back in the frame, set it on your stand or hang on the wall, and voila!
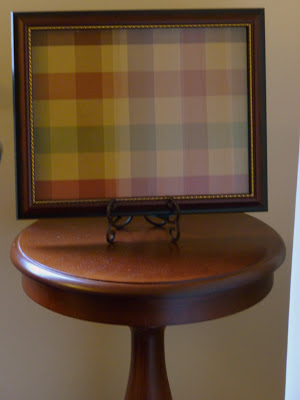
I apologize for the pictures, as it was difficult to get a picture without a glare on the glass.
You are all set to write on it with a dry erase marker.
Use it for a menu board, to do list, phone messages, phone numbers, love notes, chores for the kids…
Make and Takes used vinyl letters for the days of the week on her menu board, and hung it on the wall which is of course a great option.
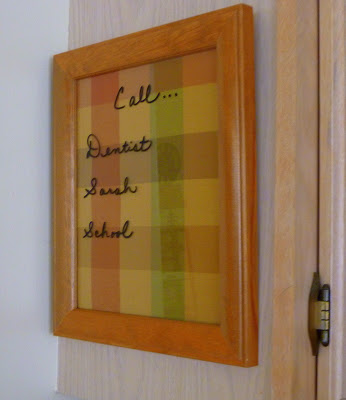
I made a smaller one to hang on the side of my kitchen cabinet.
It’s such a versatile craft that you could match it to any room in your home.
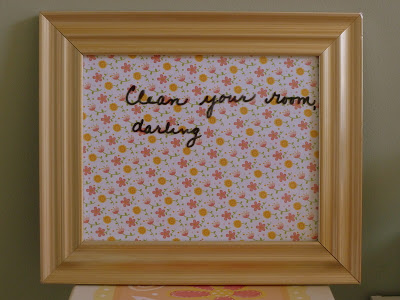
This one made with scrapbook paper is cute for my daughter’s room.
Blessings,

Need Help Getting Dinner On The Table???
Get 30 quick and family-friendly dinners with recipes and a ready-made grocery list—making mealtime stress-free and delicious!
Great idea!
Very cute. What a great idea!
this is a fantastic idea! i am definitely trying this!!
This one is really wonderful idea.Thanx to share with us.It is so different.
mini micro scooter
Thanks for sharing!
Love your fabric choice! Great project.
So cute! I have almost an identical fabric in my kitchen as well!! Would be delighted for you to link this up with Mop It Up Mondays: http://www.ishouldbemoppingthefloor.com/2012/02/mop-it-up-mondays-party-2.html
You’re so creative, Margo!! Love everything you create!!
{HUGS},
kristi
I taught a home school hnadicrafts class and this is a project the kids did. They are so versatile and fun! Yours are especially lovely with the fabric!
What a cute and easy idea! I also have a beautiful, white platter that I write on. It also serves as a dry erase board. Love those little touches of creativity! Stopped by from Titus 2sDays. 🙂
So cute and such a clever idea! I’d love for you to share this at Mix it up Monday:
http://www.flourmewithlove.com/2012/02/mix-it-up-monday.html
I hope to see you soon:)
Thanks so much for stopping by and linking up!! 🙂
Wow – I love this! I am so doing this. And I’m “pinning” it so I don’t forget. Popping over from Titus 2sdays bloghop!
This is a great idea! I’m going to make one for menu’s my husband loves knowing what he’s coming home to for dinner! I’m an avid scrapbooker, well I was before my daughter came along, so hopefully I can find a good peice of paper! Thanks for the great idea!! 🙂
Love. it. So cute! Featured on Facebook!
If you prefer the traditional whiteboard, try a high end glass whiteboard. Great for the corporate or classroom environment.
Thanks for this idea! Why didn’t I think of that? I wanted a dry erase board for the kitchen to write food dates on, and the one I bought was supposed to be magnetic but it was a dud (admittedly, it was super cheap). That was just this week! Now I made one like this from materials I already had and it’s hanging on my wall instead of the fridge but it looks awesome!
Beautiful! It looks so sweet in that corner spot too! Thanks so much for linking up to Ditto DIY.
What a fun and useful idea!!